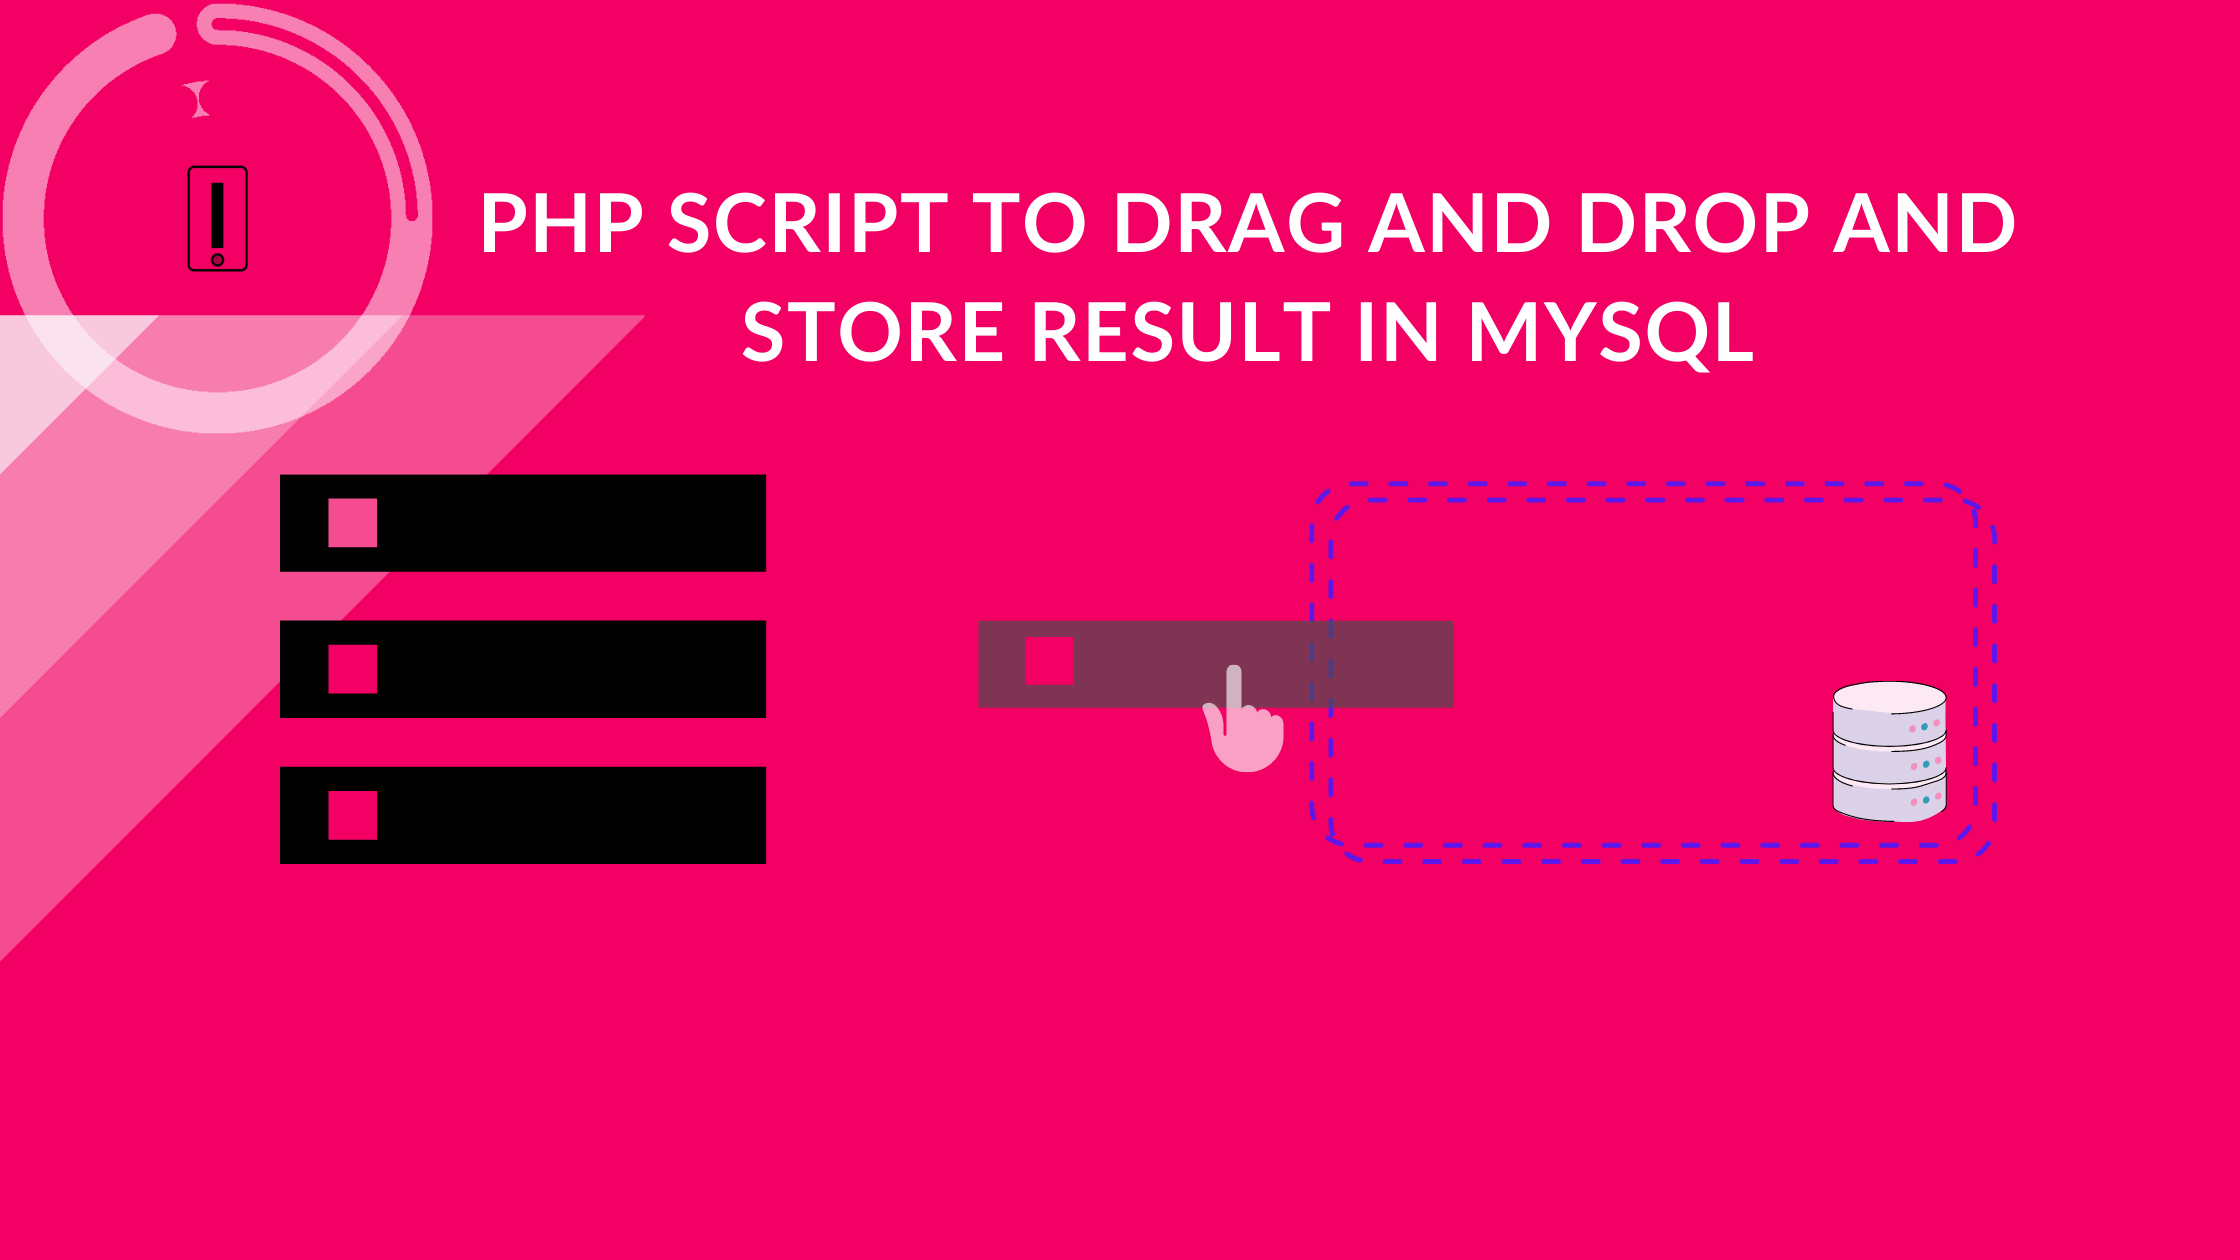
I was thinking, how much would the drag and drop UI of jQuery help the people in the pure designing aspect? well… found out – not much!, until you use it with a powerful scripting language, what’s better than PHP ?.
Secondly, I thought if you can use PHP, why not a database to store it?. Behold!! here is the simple script in PHP drag and drop the UI and store result in MySQL…
Include jQuery library
Include jQuery UI widget library, especially interactions.
Before we start, I would recommend you to learn this basic Drag & drop tutorial
Basic CSS to style our drag and drop UI
.content_box {
  padding:5px;
  width:300px;
  float:left;
  height:250px;
  border:#00FFFF solid 1px;
  font-family:Verdana, Arial, Helvetica, sans-serif;
  margin:10px;
  overflow:auto;
  color:#999999;
  font-size:14px;
}

.content_holder_box{ width:300px;
  float:right;
  height: 250px;
  border:#0099FF solid 1px;
  padding:10px;
  margin:10px;
  color:#999999;
  font-size:14px;
}

.content_holder_box:hover{
  border:#0099FF solid 1px;
}

.dragelement{
  padding:5px;
  margin:3px;
  width:270px;
  border:#99FF66 solid 1px;
  background-color:#E2FFC6;
  cursor:move;
  color:#000;
  font-size:13px;
}

.dropper{ width:270px;
  height:125px;
  margin:10px;
}

.dropper_hover{
  border:#999999 dashed 1px;
  background:url(../images/darrow.jpg) center no-repeat;
}

//you can show arrow image to suggest where user has to drop selected UI.
Create index.php and write a simple drag environment, I have created a static one, you can create a dynamic drag environment, for example, shopping cart elements from the database.
<div class="content_box" id="content_box_drag" onMouseOver="drag();"> Drag label
<?php
for($i=0; $i<5;$i++)
{
    echo "<p class='dragelement' id='dragelement_$i'>Ferrari_$i</p>";
}
?>
</div>
<div class="content_holder_box" id="content_box_drop">Drop here
<p class="dropper"></p>
</div>
<div style="clear:both;"></div>
<br/><br/>
<div id="search_result"></div>
Let’s understand the attributes and HTML structure above
- id “content_box_drag” is a static draggable environment.
- initialize drag() function on mouse hover, to prepare the drag UI.
- create few drag elements from PHP (static).
- create a dropbox “content_box_drop”, so that users can drop the dragged element into it for selection.
- create a <p> tag so that we can append the drag element to it. (you can use any!)
- use a div to show the result, here “search_result”.
DEMO
jQuery drag and drop function and store the result in MySQL

//initialize the drag and drop functions.
function drag() {

$("#content_box_drag p").draggable({
    appendTo: "body",
    helper: "clone",
    revert: "invalid"

    //add comma to previous last line & uncomment this if u want to remove the dropped item
    /*stop: function(){$(this).remove();}*/

});

$("#content_box_drop p").droppable({
    activeClass: "dropper_hover",
    hoverClass: "dropper_hover",
    accept: ":not(.ui-sortable-helper)",
    drop: function (event, ui) {
        var ele = ui.draggable.text();
        $.ajax({
            url: "store.php",
            type: "POST",
            data: {
                element: ele
            },
            beforeSend: function () {
                $('#search_result').html("<center><br/><h4>Loading.....</h4></center>");
            },
            success: function (data) {
                $("#search_result").html(data);
            }
        });
    }
});

}
/**
* store.php file
*/
<?php
echo "You dropped: <b>". $_REQUEST['element'] ."</b> to Basket";
/**
* Connect to database and Store this result or do whatever you want with it.
*/
?>Please note that the idea of this tutorial is to show you how to create things in a simple and understandable way. It does not focus on security and authenticity etc…
Comment below if you need the working demo of this. 🙂
Hope it was helpful, as it was for us, Subscription and Comments are appreciated!!

good job